The Process Behind a Custom Vehicle Wrap Installation
A custom vehicle wrap can completely change the way your business or personal vehicle looks. It can add bold branding, protect the paint, and help you stand out on the road. But for many people, the biggest question is not whether a wrap is worth it. It is what the process actually involves and what you should expect from start to finish.
That is where wrap and decal installation becomes important. A professional installation is not just about applying vinyl to a vehicle. It is a detailed process that involves design planning, material selection, surface preparation, precise placement, and careful finishing work. When done correctly, the wrap looks smooth, lasts longer, and delivers a clean, professional result that represents your brand well.
Step One: Design And Planning
Every wrap project begins with design. This is where the overall look is created, including colors, layout, logos, text placement, and any visual elements that will be included. A good design is not only about style. It is also about readability. If the vehicle is being used for business advertising, the information must be clear enough to be understood quickly by people driving past.
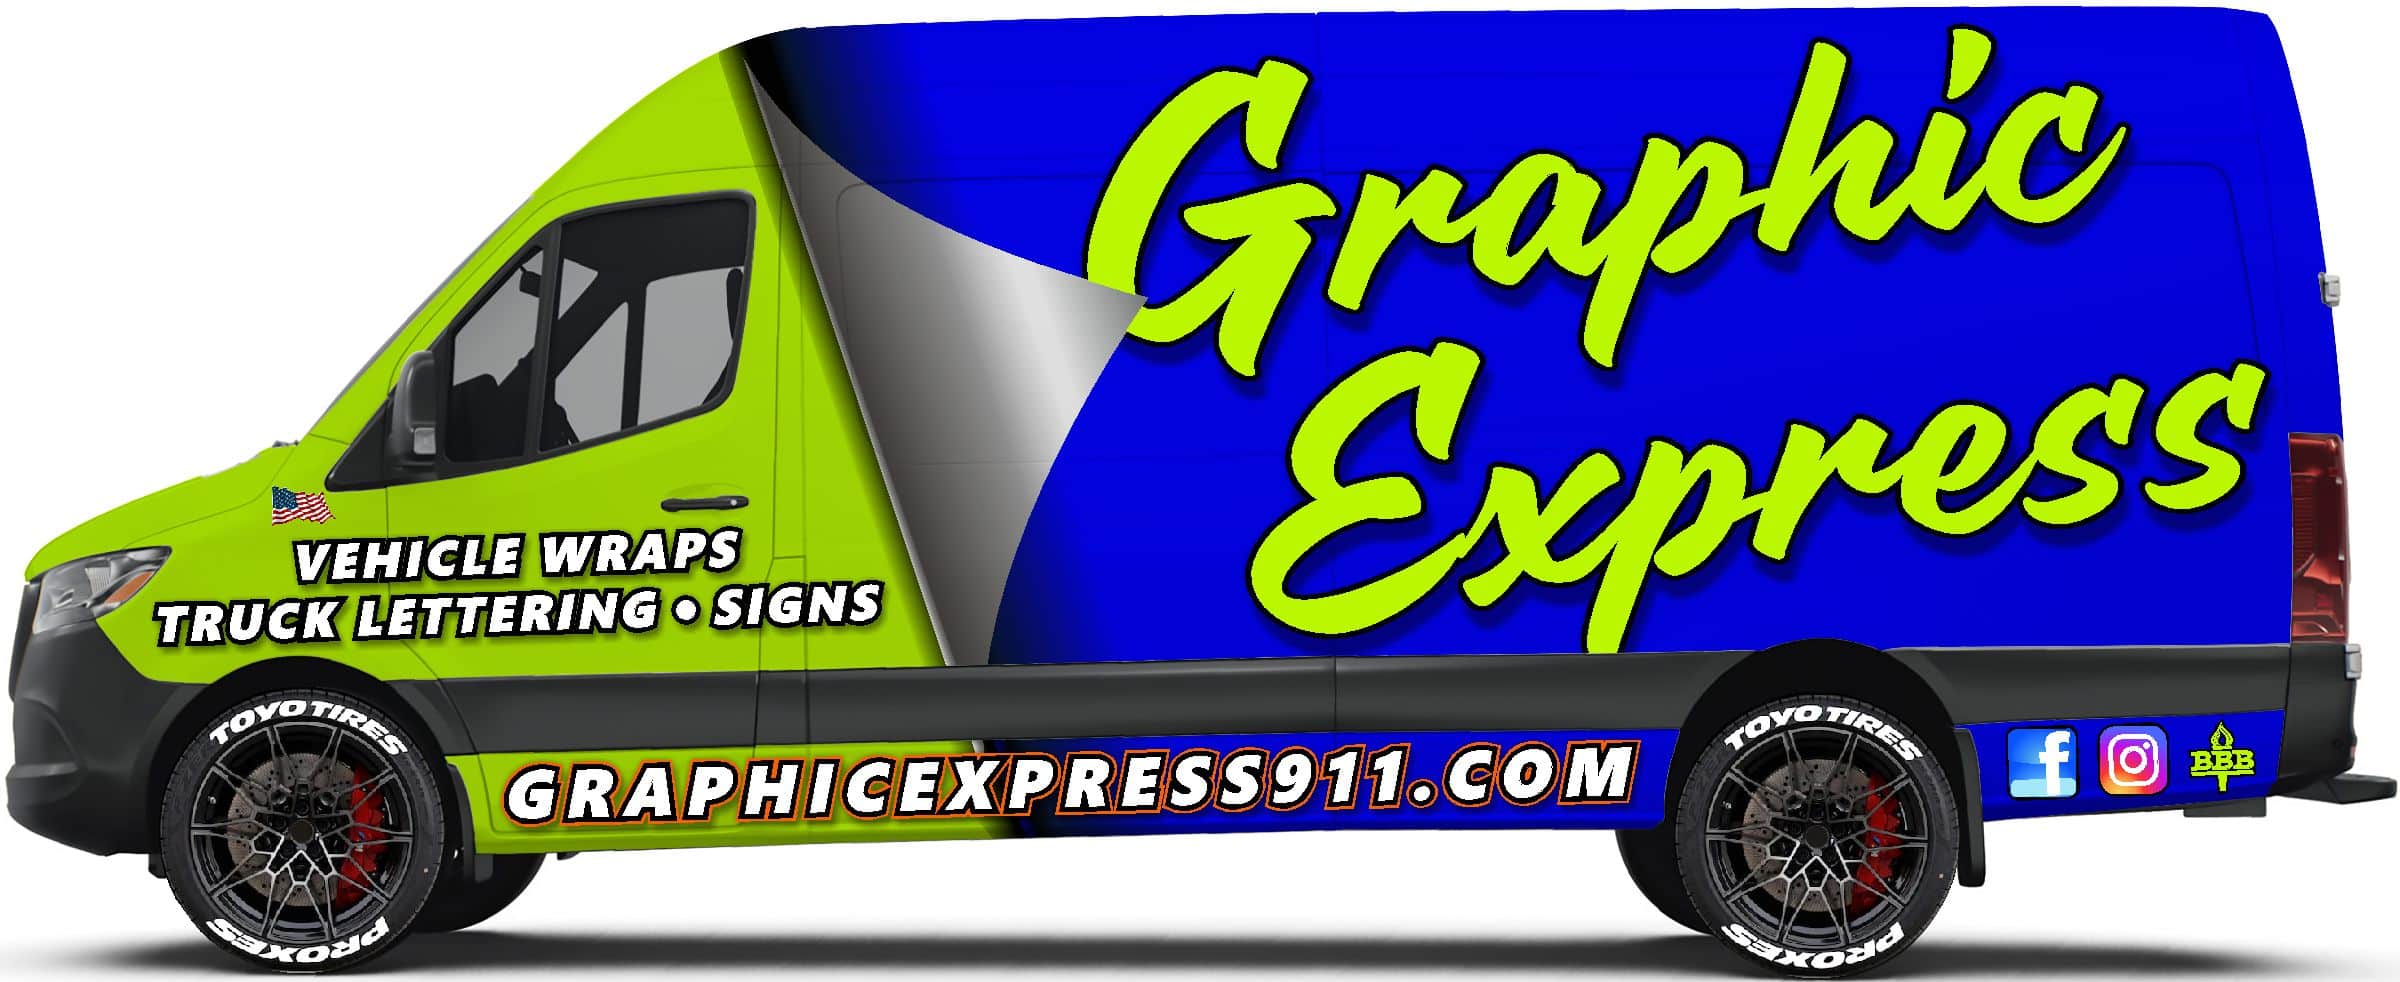
Graphic Express works with customers to create a design that matches the vehicle and supports the goals of the wrap. Once the design is approved, measurements are finalized so the wrap fits properly and looks consistent across every panel.
Step Two: Printing And Material Preparation
After the design is finalized, the wrap is printed using high-quality vinyl materials. The wrap is then laminated, which helps protect it from sun exposure, weather, and everyday wear. This step is essential for durability, especially for vehicles that are on the road daily.
The printed wrap is then trimmed and organized into panels, making it easier to apply accurately during installation.
Step Three: Surface Cleaning And Prep
Before installation begins, the vehicle must be thoroughly cleaned. Even small amounts of dirt, wax, or oil can interfere with adhesion. Installers typically use specialty cleaners to ensure the surface is ready for vinyl.
In Millbury, MA and nearby communities, this preparation step is one of the biggest reasons professional installation matters. A wrap may look good at first, but without proper prep, it is more likely to peel, bubble, or lift over time.
Step Four: Installation And Finishing
The installation process involves carefully positioning each panel and smoothing it into place. Heat is used to help the vinyl conform to curves and edges, creating a seamless look. Once applied, installers trim around handles, seams, and body lines for a clean finish.
After the wrap is installed, it is inspected for alignment, bubbles, and edge sealing. Final touches make the difference between an average wrap and a truly professional one.
What You Can Expect In The End
A quality wrap should look like it belongs on the vehicle, not like a sticker placed on top. With professional wrap and decal installation, your finished vehicle will look polished, consistent, and ready to represent your brand. In Millbury, MA and nearby communities, Graphic Express provides wrap services designed to deliver long-lasting results that make a strong impression wherever you drive.